I own a Canon EOS M50 Mirrorless camera. It’s really an entry-level camera under $700 but can shoot 4K videos, comes with a 15-45mm f/3.5-6.3 zoom lens, offers auto-focus, touchscreen LCD and a 24MP camera. I occasionally use it to take product images and YouTube videos. But I recently started using it as a webcam for my Zoom calls and Live streams.
Using a USB cable
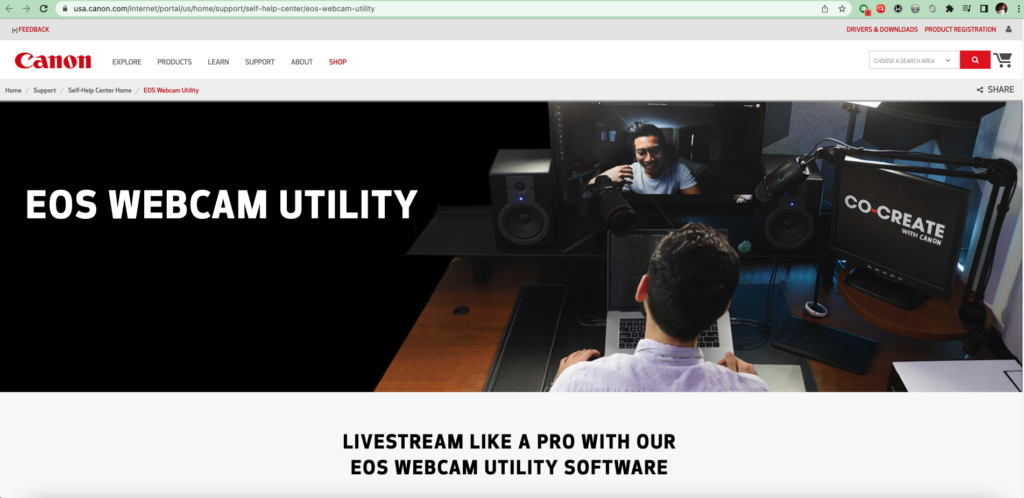
The cheapest way to use your DSLR camera as a webcam is using a USB cable. Most camera come with a micro USB input. High-end versions support USB-C port. You can connect the camera directly to your computer via micro USB to standard USB-A cable — the same cable used to charge older android phones. My canon EOS M50 comes with a micro USB port located on right side of the camera body. You will also need supported webcam software installed on your PC. Popular camera brands have developed their own version, however 3rd party software is available. If you own a Canon camera like me, then you should install the EOS Webcam Utility available for Windows and Mac. If you have a Nikon camera, then download the Nikon Webcam Utility and for sony, checkout the Imagine Edge Webcam and for Fujifilm cameras, FUJIFILM X Webcam. Panasonic too announced their webcam software called LUMIX Webcam Software (Beta). Most of this software is fairly new and was announced during the Covid-19 pandemic to help users make video calls from home. So expect bugs and glitches. For instance, canon hasn’t released a version that supports MacOS 12, only upto Catalina is supported.
Using a capture card
if for reason none of the above software don’t work for you, then your next best alternative is buy a capture card. You will need to acquire an HDMI cable as well to work with the capture card. The HDMI cable connects your DSLR camera to the capture card which in turn connects to your computer via USB or PCI slots of the motherboard. You can either get a micro HDMI to HDMI or HDMI to HDMI cable depending on your camera. My EOS M50 has a micro HDMI output port, so the former works for me. There are several options, but I went with this $11.99 UGREEN Micro HDMI to HDMI Cable. The capture capture converts HDMI signals from your DSLR camera to USB input for your computer. Elgato has several other models like the $359.99 Elgato Cam Link Pro which plugs into your desktop computer’s PCI slot. This supports upto 4 HDMI inputs instead of just one. Another premium option worth your bucks is this $139.99 Razer Ripsaw HD Game Streaming Capture Card. But if you’re on a budget, then consider $16.99 AVERYN Upgraded Audio Video Capture Card. Using a Dummy Battery If you’re going to have a Zoom meeting or live stream, chances are it’s going to take a long time. I am estimating at least 30 minutes to 1 hour depending on what you’re doing. Now you can always use your DSLR’s built-in battery, but I wouldn’t count on it. Mine runs out after about 20 minutes of active use. So the best option is to get a dummy battery. A dummy battery enables you to plug your DSLR camera to AC power supply directly so that you don’t have to worry about your camera’s battery running out during a live stream. The dummy battery comes with a DC Drive cable or adapter that on one end plugs into the dummy battery and on the other end plugs into a any standard USB-A plug such as your phone’s charger for instance. For my Canon EOS M50, I got this $22.99 LP-E12 Dummy Battery. But check on compatibility with your camera model. Different dummy batteries are designed for different cameras.
Live streaming or video calls software
For Live streaming, OBS Studio is so far the gold standard. It’s a free open source versatile live streaming software you can use for most common live streaming applications. OBS is widely supported across different operating systems including Windows, Mac and Linux. Many hardware manufacturers support it out of the box as well as video sharing sites such as Youtube. If you intend to use the DSLR for video calls, then consider Google Meet, Zoom, Microsoft teams, Streamyard etc. You simply have to select your DSLR camera in the video input settings of your prefered video call software.
Camera settings
To have a clean video output from the camera, make sure that you configure Clean HDMI in the settings of your camera. This will remove camera info data such as time, shooting mode, battery level indicator among other info that might appear on your camera’s LCD screen. Then make that the the display isn’t set to turn off after short of period of time. This is the default setting, but you should turn off that setting that automatically turns off the camera so that you’re not interrupted during your live stream. The settings vary from one camera brand to another. Alright that’s it. If you have any questions, let me know in the comments below.

